Building a website (part 3)
Nikita Gusarov
In this part, we are finally approaching one of the most important and interesting topics, when creating a website: the deployment process. I do not believe that this will be the end of the sequence about the websites, because there are some more interesting topics. Among them:
- RSS (Really Simple Syndication) configuration
- Templates
- Custom layouts
- Java Script (JS) embedding
- Synchronisation
- Migration
- And many more
But let’s leave these topics for later and focus our attention on the deployment procedure.
Website deployment
After the website is generated following our wishes, we should somehow make it accessible for other people.
Otherwise, what is the point in creation of a website if no one can view and read it?
In the blogdown’s documentation we will find many different strategies for deployment:
- Netlify
- GitHub Pages
- GitLab Pages
- Travis + GitHub/GitLab
As always, there are always both drawbacks and advantages in all of the listed strategies.
Luckily, a short presentation of all the methods may be found on the blogdown’s web-page.
In this post we will focus our attention on the solution adopted for this website construction: Travis + GitHub
Even if it is possible to publish compiled locally website to GitHub pages, we prefer to automate the process with Travis.
GitHub setup
Previously, in the first part of this sequence, we have added two folders to our .gitignore folder: public and resources.
This was done in order not to keep track of and not to synchronise those with GitHub later, allowing us to publish only the source files.
Now, we can associate our project repository with a distant source (if this stage was not done when setting up the project).
In my case it was the website_source project.
But it is not the only action to perform on GitHub.
We need to create a new project for GitHub Pages: username.github.io, where username is the username for GitHub account.
Note, that the procedure described here is the simplest way to deploy our website on GitHub Pages, but it’s also possible to setup the website in a subdomain of the given above sample address.
Travis and build automation
- Travis platform is a stand-alone tool for Continuous Integration (CI) and development, which is designed to work with GitHub, gitLab or BitBucket.
- CI is
- “the process of automating the build and testing of code every time a team member commits changes to version control” To read more about it you may visit the website of Microsoft or any other source available on the Internet.
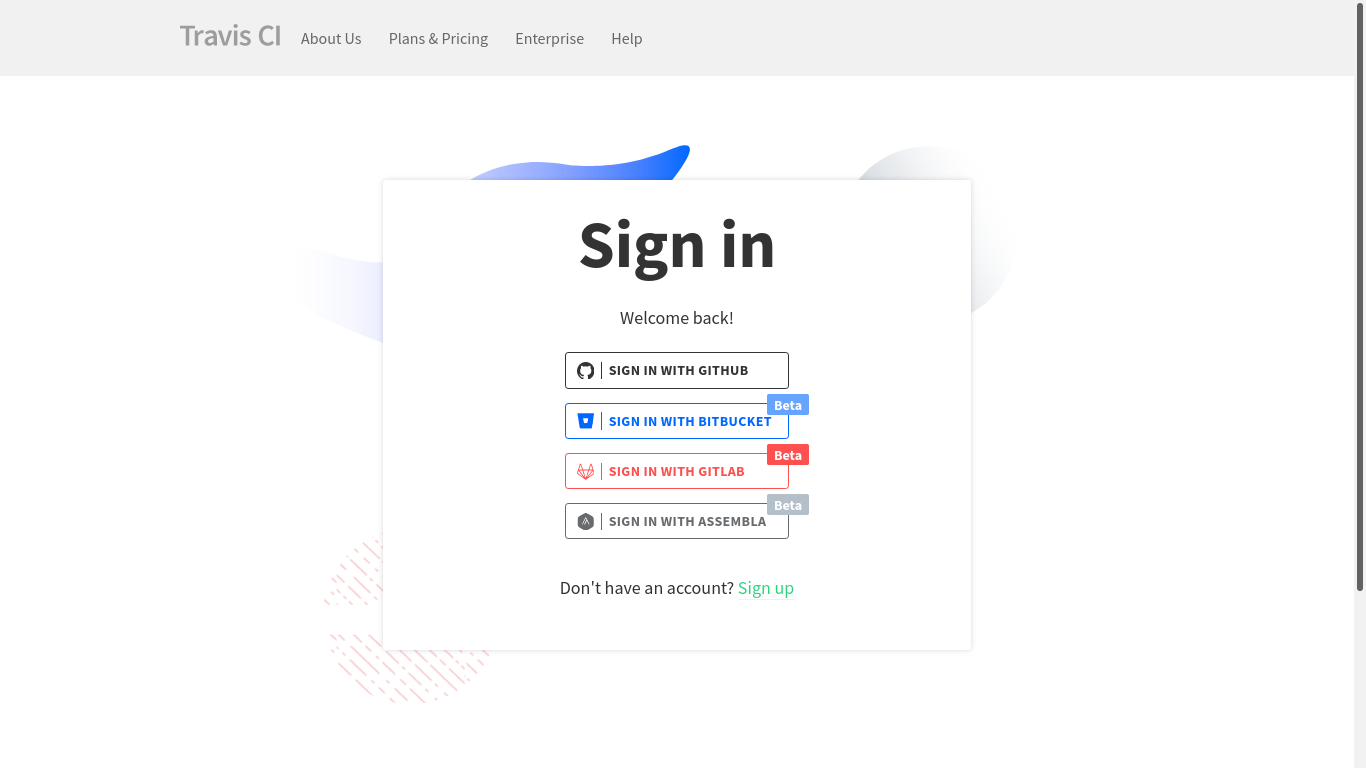
In order to use Travis we first of all should sign in using the GitHub account or any other method and then bind our GitHub profile with the account.
After binding the accounts it rests to configure the pipeline for our CI procedure.
In order to do so, we should place a configuration file in our project folder, the file should be named .travis.yml.
This configuration file should first of all specify the Virtual Machine (VM) configuration to be ran by Travis:
os: linux
language: r
dist: xenial
latex: false
Here we use a Linux machine running Xenial Ubuntu version as in guidelines in the blogdown’s [guidelines].
Then we precise when exactly the CI pipeline should be triggered.
Among the best choices will be to trigger actions only on changes in main branch (here we use GitHub’s default branch naming convention, in other services this may be master branch).
branches:
  only:
    - main
We want as well to cache the packages we install into VM, to save the time on later builds, by setting:
cache:
  packages: yes
  directories:
    - $HOME/bin
Then we need to add two scripts: (1) an installation script to configure our R build environment and (2) the website build script itself.
install:
  - Rscript -e 'source("R/install.R")'
script:
  - Rscript -e 'source("R/script.R")'
The minimal installation script may look as follows (this solution may have some problems in compiling .pdf images):
# Install packages
## Blogdown
install.packages("blogdown")

# Install Hugo
blogdown::install_hugo(
    version = "0.87.0"
)
The build script is identical to what was previously described with one exception. Before publishing the website on GitHub Pages we want to make sure GitHub will not use Jekyll to rebuild the contents.
# Build site
blogdown::build_site(
    local = FALSE
)

# Add .nojekyll
file.create(
    "public/.nojekyll",
    overwrite = TRUE
)
Finally, we define the deployment procedure.
We wish to use GitHub Pages, committing the changes in public directory to specified repository: nikitagusarov/nikitagusarov.github.io on main branch.
To avoid the situation when Travis deletes the public folder before making commit, we add cleanup = false line to .yml file.
deploy:
  provider: pages
  strategy: git
  skip_cleanup: true
  keep_history: true
  token: $GITHUB_TOKEN
  on:
    branch: main
  local_dir: public
  repo: username/username.github.io
  target_branch: main
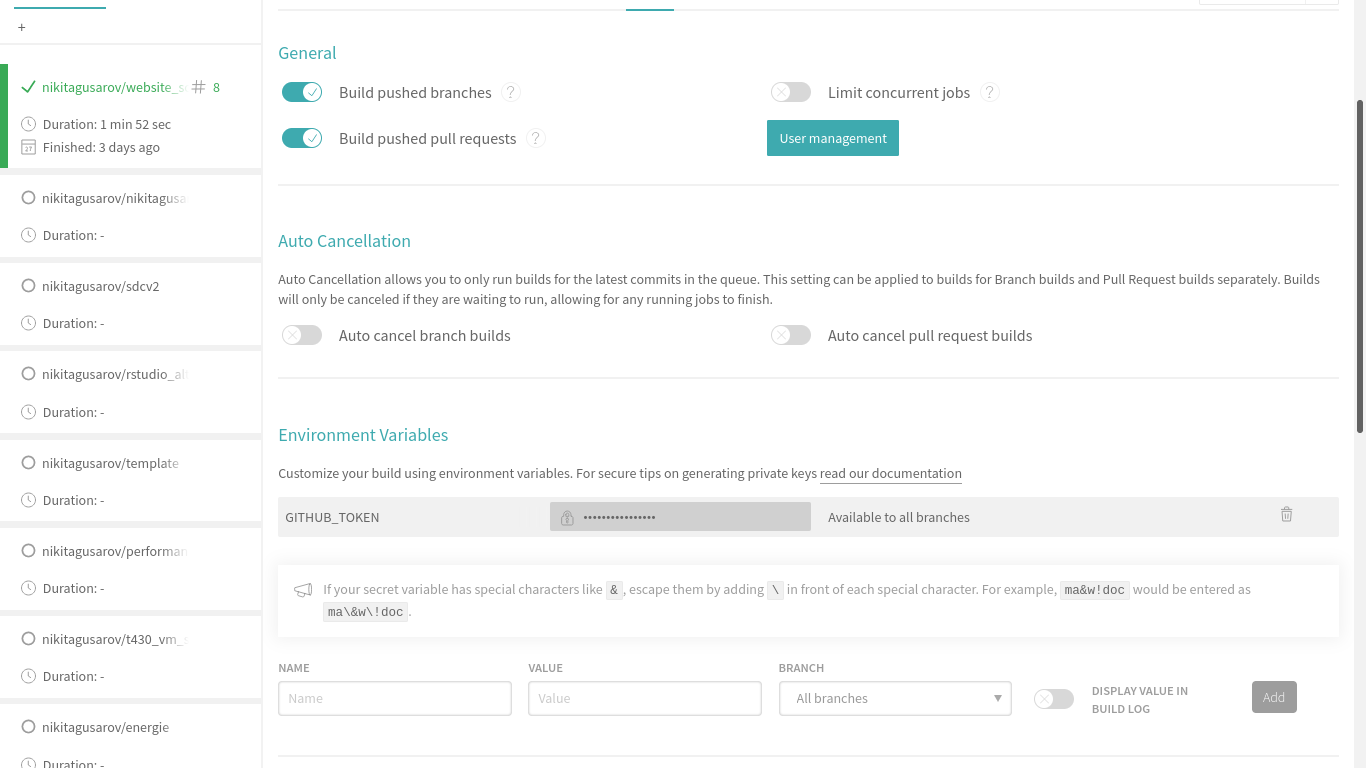
In order to ensure that Travis will be able to connect to GitHub, we use the secret variable: $GITHUB_TOKEN.
First of all, we generate the a new GitHub access token in our GitHub account with repo scope (Settings > Developper settings > Personal access tokens).
Then we securely store it inside Travis application (Project > More Options > Settings):
After completing all the procedures, our next commit into main branch of the source repository will trigger the Travis CI pipeline.
It will build the website using Hugo and publish it to GitHub Pages.