Self-hosting
Nikita Gusarov
Today we are going to speak about the self-hosting. Since the start of January I’ve spent some time on configuration of my home server for my personal applications. The idea behind this transition was to put some more distance between myself and my dependence on the external services, where I’ve no means to control my personal data. The last year, I’ve already performed the transition from using the Google Drive and Dropbox to the usage of more private NextCloud solutions (offered by my university,as well as a privacy respecting server in Zurich). Nevertheless, when I’ve discovered a long unused motherboard, belonging to my school laptop, I’ve decided to give it a new life.
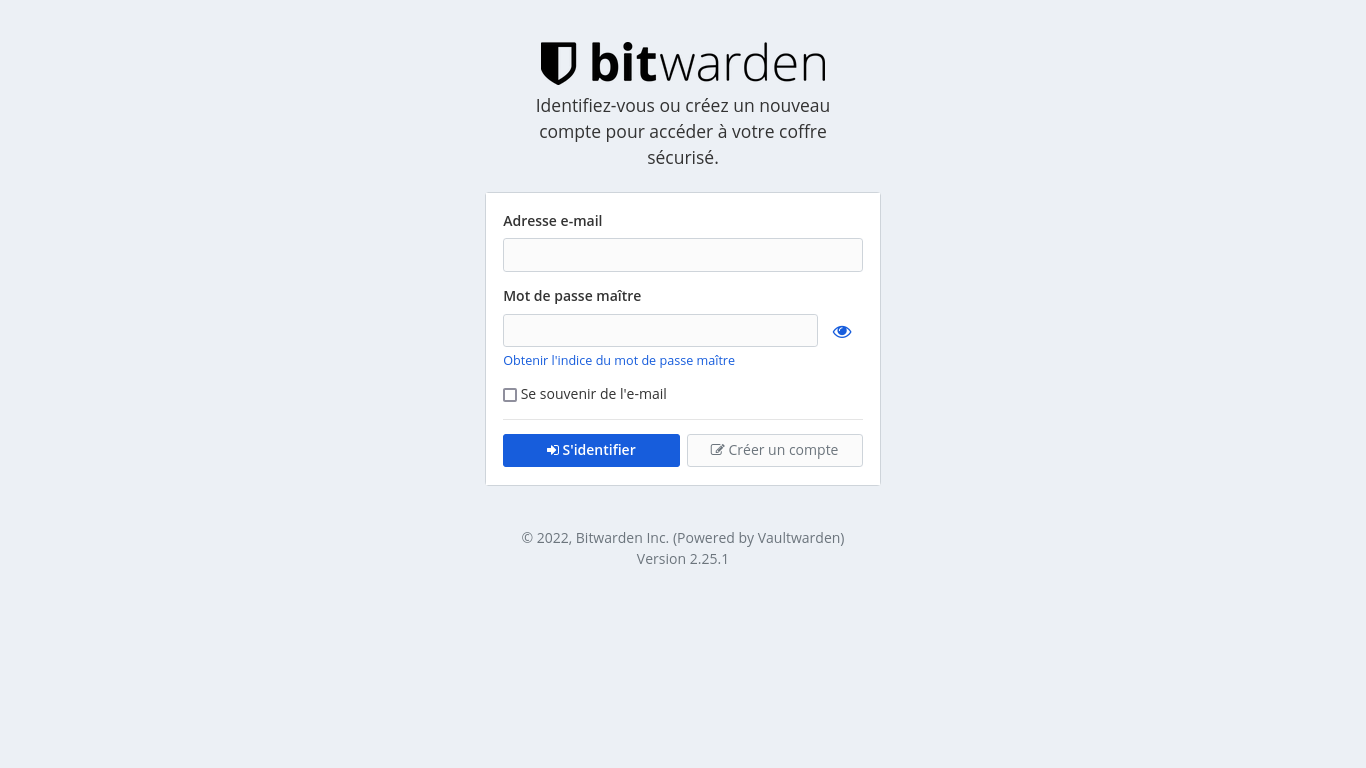
What is more, this period coincided with my discovery of Vaultwarden, a free Bitwarden fork, which perfectly matched with my idea of my security policy renewal. In short, all considerations combined I’ve decided to start self-hosting some of cloud services for personal (and family) use.
Why self-host anything?
Among the main advantages of self-hosting in my personal use-case I may name:
- Breaching the dependency on third party solutions
- Gaining full control over personal data, its storage and security
- A chance to organise your own FOSS oriented ecosystem
- Possibility to tinker with some new tech
All of this sounds quite awesome, but everything goes at a price. Among the drawbacks one can easily name:
- Potential security risks linked with a lack of proficiency and tech knowledge of the user
- Potential lower reliability in cases of electricity outages and unforeseen events
At this point it’s important to weight the risks and your ability to take them.
In last years I had nearly no reliability on the external services and a sudden loss of my server or its data is not that frightening perspective for me.
Moreover, with a quite simple configuration of cron jobs it’s possible to organise systematic backups.
That, with occasional manual backups on external hard drives makes data / server loss not that a tragedy.
What applications to host?
Because of the experimental nature of the setup, I’ve decided to stick with some most popular and subjectively useful software choices. Here they are:
- Vaultwarden - a free fork of Bitwarden for secure password management and synchronisation across multiple devices
- Nextcloud - an open source cloud storage solution
Both of them are quite popular choices and there are plenty of guides on how to install and configure them. Nevertheless, I’ve encountered some difficulties with first time reverse proxy configuration, but I’ll speak later about it.
Server configuration
For the server I’ve used a motherboard of my old HP (15-bs007) laptop, placed into a custom built enclosure. It has quite a weak, 2 core processor (Celeron N3060), but it’s more than enough for a small home server for personal use. Such a weak configuration provides one advantage: low power usage, which is extremely good for server running 24/7. And 4Gb of RAM suffices for the intended use case as well.
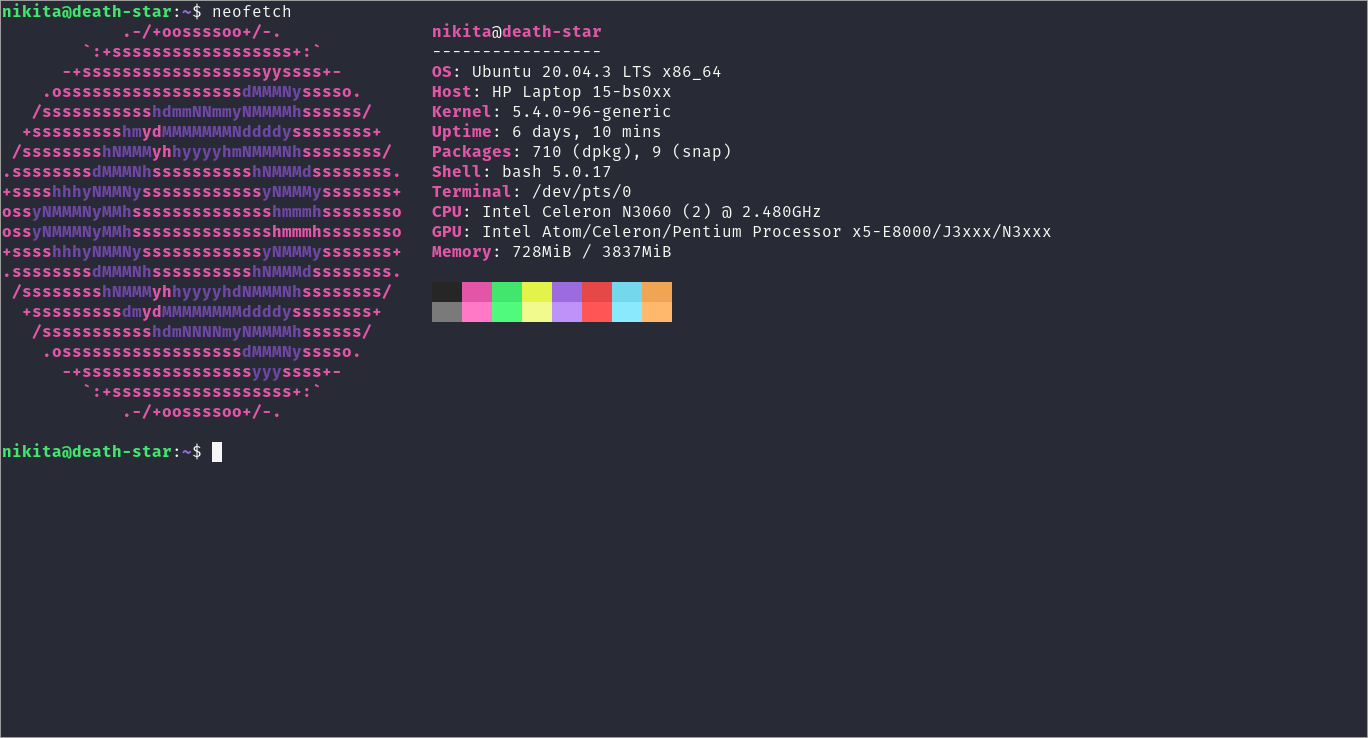
The OS choice has been made in favour of Ubntu Server, with the LTS version. The installation of the system is rather straightforward and I will not include the details of this step here. It is simply required to follow the CLI installer to fully configure the server. Among the additional steps we have:
- Generation of several non-sudo users for confusion purposes
- Renaming of the single sudoer to something unexpected
- Configuration of password-less login via
ssh(withsshkeys), with password login being fully blocked - Transition of the
sshconnection port to something other than default port 22 - Enabling
ufwand closing all other ports except one used forsshsession
After this steps it will be nice to verify whether everything works by logging in via ssh on local network
Applications installation
Now we may proceed with the installation of required packages.
We will use nginx as our reverse proxy, docker for our Vaultwarden instance and snap version of NextCloud as it’s suggested on official website.
Because all the applications rely on the reverse proxy and should be configured accordingly we start with proxy configuration.
Reverse proxy
The advantage of the reverse proxy is the possibility to serve several applications from a single IP by using subdirectories or subdomains. The connection from client to server should be configured to be encrypted (https), while within server (from proxy to the application) simple http requests are made.
We start with simple installation and activation:
sudo apt-get install nginx
sudo systemctl enable nginx
Once the nginx installed, we need to configure the rules for it in our firewall, granting it the access to other ports, on which the applications will run.
sudo ufw allow "Nginx Full"
Here it’s assumed that you already have some registered domain name(s), which will be used with this server. In the case when applications are associated with subfolder we will only need one domain name (ex: some ISP provide an option to create one, at least in France). Before certifying our domain for secure connections we should create some simple web accessible page on our server and open it ot the world. First, create a simple webpage:
sudo vim /etc/nginx/sites-available/web
The file contents should look something like:
server {
    listen 80;
    listen [::]:80;

    server_name <yourdomain>;
}
server {
    listen 443 ssl http2;
    listen [::]:443 ssl http2;

    server_name <yourdomain>;
}
We specify the behaviour for the connections on default ports (accessed by most web browsers by default). Enable the created server block:
sudo ln -s /etc/nginx/sites-available/web /etc/nginx/sites-enabled/
You may now test the configuration:
sudo nginx -t
And finally restart the proxy:
sudo systemctl restart nginx
Now we need to generate a certificate for the chosen domain.
One of the simplest solutions without additional costs is the option offered by Let’s Encrypt.
Let’s Encrypt provides even an automated configuration solution (Certbot: python-certbot-nginx) for the certificate management.
The certificate is generated with:
sudo certbot --nginx -d <yourdomain>
Certbot should automatically edit the contents of /etc/nginx/sites-available/web file.
From now on, the certificates may be automatically renewed with the command sudo certbot renew as a cron job.
We may want to configure nginx with certbot to connect always in https mode, redirecting eventual http connections.
NextCloud

NextCloud is identically simple to install:
sudo snap install nextcloud
It’s important to create an admin account before proceeding:
sudo nextcloud.manual-install <user> <passwd>
Next the ports should be configured:
sudo snap set nextcloud ports.http=<nexcloudhttpport>
sudo snap set nextcloud ports.https=<nextcloudhttpsport>
Finally add the NextCloud related configuration lines to the server block (the part listening to the port 443) in nginx configuration.
For example, we may use:
# CalDav configuration for NextCloud
location /.well-known {
        # The rules in this block are an adaptation of the rules
        # in the Nextcloud `.htaccess` that concern `/.well-known`.
        location /.well-known/carddav { return 301 /nextcloud/remote.php/dav; }
        location /.well-known/caldav  { return 301 /nextcloud/remote.php/dav; }
        location /.well-known/webdav  { return 301 /nextcloud/remote.php/dav; }

        # Let Nextcloud's API for `/.well-known` URIs handle all other
        # requests by passing them to the front-end controller.
        return 301 /nextcloud/index.php$request_uri;
}

# Main NextCloud configuration
# we us <yourdomain>/nextcloud as root directory for application
location /nextcloud {
        proxy_set_header Host $host;
        proxy_set_header X-Real-IP $remote_addr;
        proxy_set_header X-Forwarded-For $proxy_add_x_forwarded_for;
        proxy_set_header X-Forwarded-Proto $scheme;

        add_header Front-End-Https on;
        proxy_headers_hash_max_size 512;
        proxy_headers_hash_bucket_size 64;
        fastcgi_hide_header X-Powered-By;
        proxy_buffering off;
        proxy_redirect off;
        proxy_max_temp_file_size 0;

        rewrite ^/nextcloud(.*)$ $1 break;
        sub_filter "/core/" "/nextcloud/core/";
        sub_filter_once off;
        proxy_pass http://127.0.0.1:<nexcloudhttpport>;

        if ( $http_user_agent ~ ^DavClnt ) {
                return 302 /nextcloud/remote.php/webdav/$is_args$args;
        }
}
Vaultwarden
Finally, we install Vaultwarden as docker container on our system. First we will need a working docker installation. I’ll not describe the complete procedure here, because it’s subject to be modified with time. It’s better to refer directly to the Docker website for more precise and up to date instructions. To start docker container with Vaultwarden run:
docker run -d --name vaultwarden \
    -v /vw-data/:/data/ \
    -p <vwport>:80 \
    vaultwarden/server:latest \
    --restart=unless-stopped \
    -e DOMAIN=<yourdomain>/vw
This command will pull the latest Vaultwarden image and deploy it.
We assume that one may be interested to configure the U2F authentication for this application, which requires a DOMAIN environmental variable to be provided.
Next, the contents we add to our proxy configurations are as follows:
# Vaultwarden configuration
location /vaultwarden/ {
    proxy_headers_hash_max_size 512;
    proxy_headers_hash_bucket_size 64;
    proxy_set_header Host $host;
    proxy_set_header X-Forwarded-Proto $scheme;
    proxy_set_header X-Real-IP $remote_addr;
    proxy_set_header X-Forwarded-For $proxy_add_x_forwarded_for;
    add_header Front-End-Https on;

    rewrite ^/vaultwarden(.*) /$1 break;
    proxy_pass http://127.0.0.1:<vwport>;
}
Please note, that these contents are placed inside the same server block of our proxy configuration as previously added entry related to NextCloud.
This will allow us to reach Vaultwarden from behind the nginx proxy.
Finally it remains to schedule the automated jobs for updates and backups.
As well as harden the configuration with additional security measures (ex: fail2ban), but we will talk about it another time.